Kubernetes 101 - Deployments & ReplicaSets

Deployments
A Kubernetes Deployment is a resource object which gives us declarative updates for applications. They allow us to configure the application lifecycle so that we can decide things like the images to use, the number of pod replicas and many more.
Kubernetes Deployments are designed to update applications predictably and maintain availability - even during update processes (this is a big part of why we use them).
Should a pod crash or get deleted unexpectedly, a Deployment will ensure that the number of pods remain as expected and the server hosting the application remains stable. For instance, if there is an update that needs to be actioned on the deployment, it will be phased out across each of the instances gradually, instead of being updated at the same time (and increasing chances of downtime if something goes wrong).
If anything goes wrong during the update or while a new version of the deployment is running, Deployments allow us to rollback to a previous version, which further minimises the risk of downtime.
Labbing
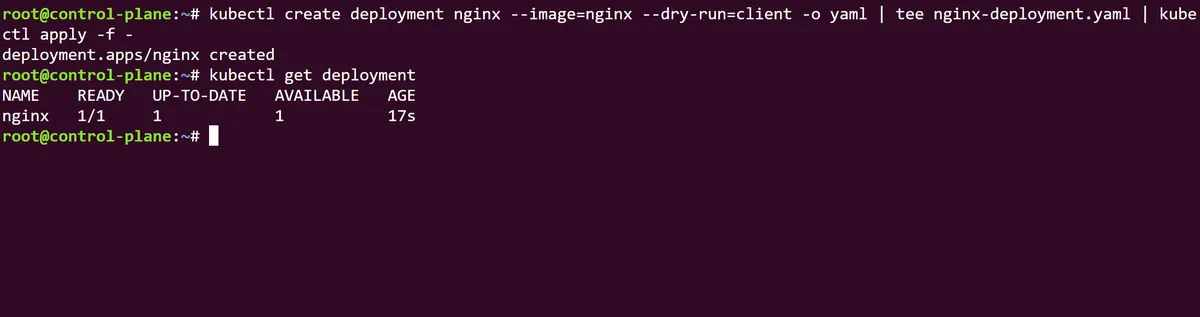
Heading over to the terminal, we can see this in action by first creating a deployment using kubectl create deployment nginx --image=nginx before we create this as a dry run, and tee the output of this to a YAML file (similar to what we've done in previous posts within this series).
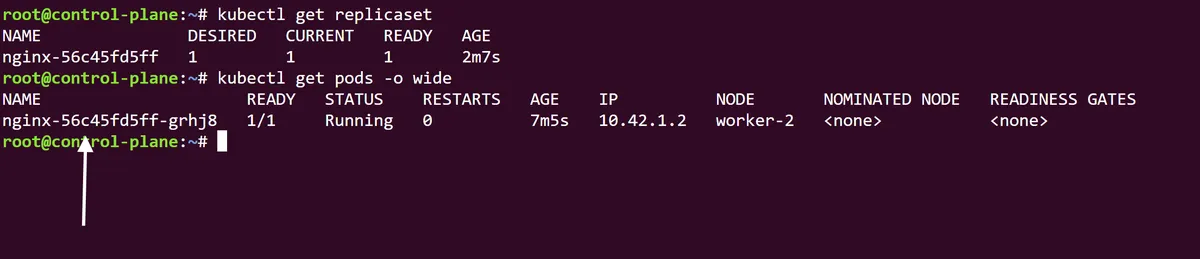
Note that if we run kubectl get replicaset we can see that a ReplicaSet has been indirectly created through our new nginx Deployment, with the name of the Deployment in its prefix and a unique identifier. The Kubernetes official documentation suggests that, as Deployments have a hierarchical relationship with ReplicaSets, users may never need to directly manage a ReplicaSet recommend managing the Deployment object alone.
If we also run a kubectl get pods -o wide we can see that the pods that sit within this Deployment/ReplicaSet hierarchy have been stamped with the prefix of both identifiers (as well as their own pod prefix ids).
Using the command kubectl rollout history deployment/nginx we can see that (expectedly) we only have a single version of this deployment and no current change causes. Using the annotate command we can make this rollout history version more descriptive by using the change-cause annotation field. In this case we will specify the version as an initial deployment:

As described in the intro of this post, one of the key features of Kubernetes Deployments is the ability to scale up or scale down the number of pods we are running within an application deployment without downtime. We can try this by running the kubectl scale deployment/nginx --replicas=10 command to scale our nginx app so that it will run on 10 pods. We can follow this up with the Linux procps watch utility command, preceding kubectl get pods to see this Deployment scale in real time:
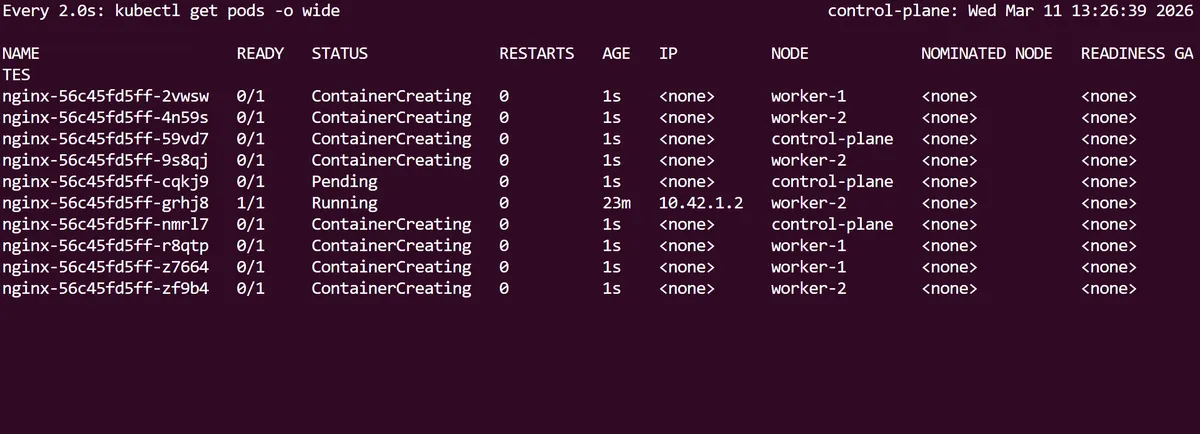
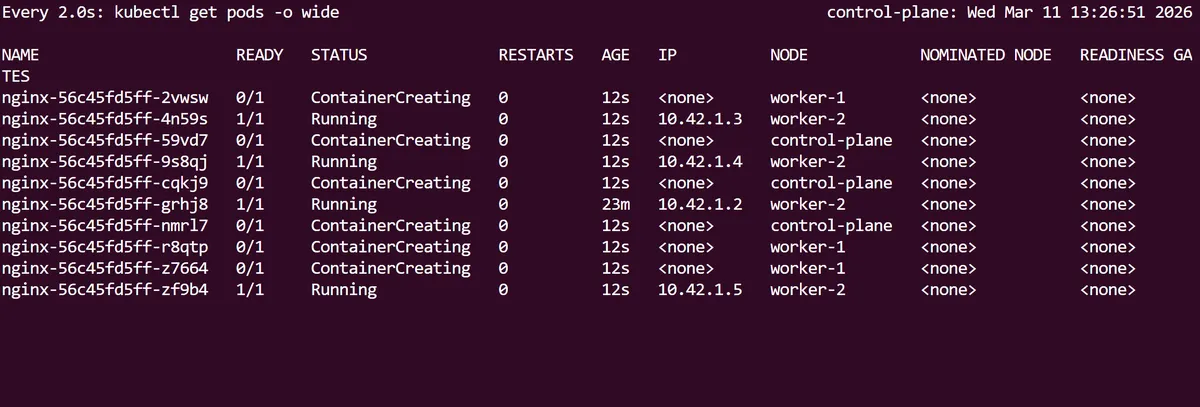
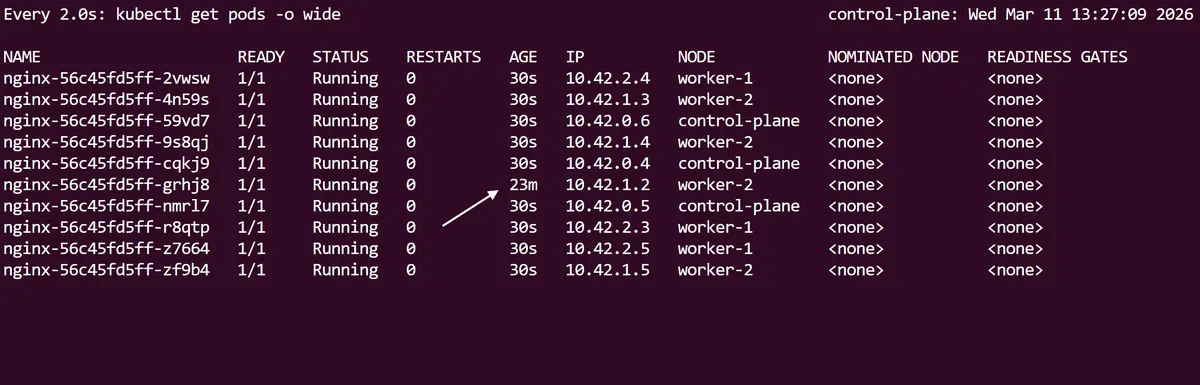
Notice how the first initial nginx pod has a longer age than the 9 new pods that have scaled up.
So using the scale command, we have managed to scale up this deployment imperatively, but now, as we still have the initial nginx-deployment.yaml file we created at the start, we can now declaratively specify the Deployment to scale up from the YAML spec itself.
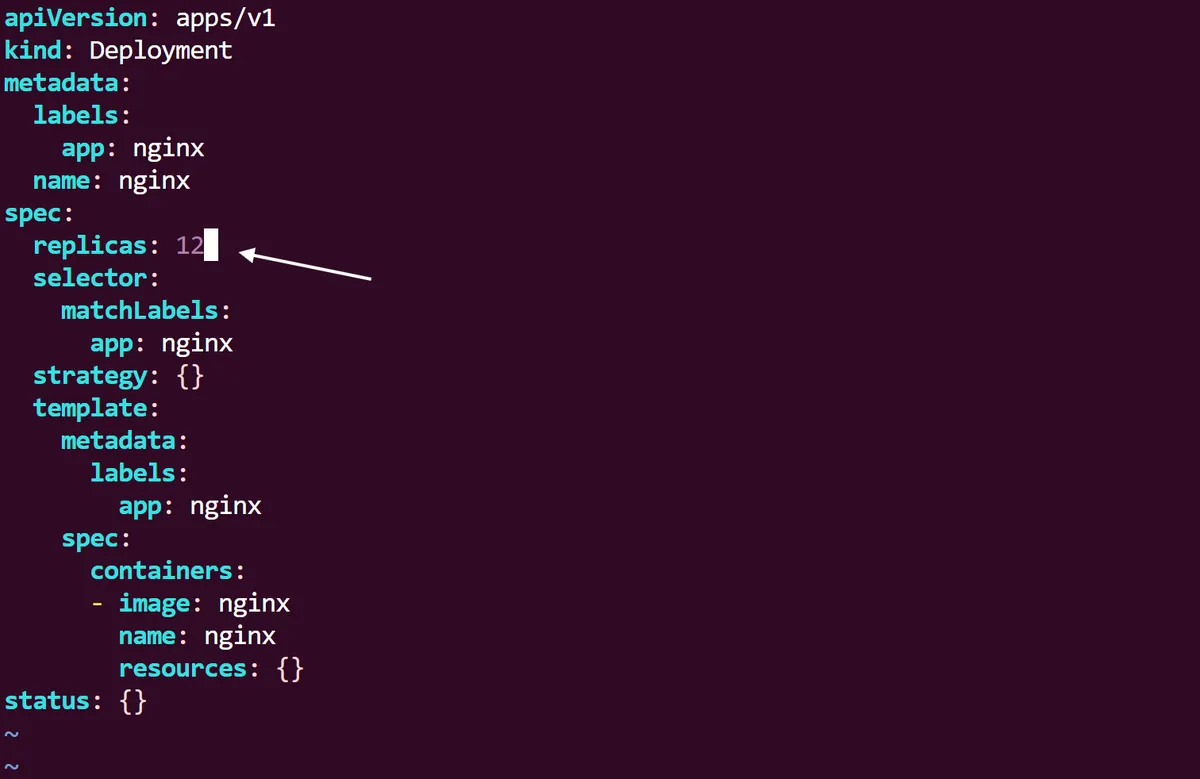
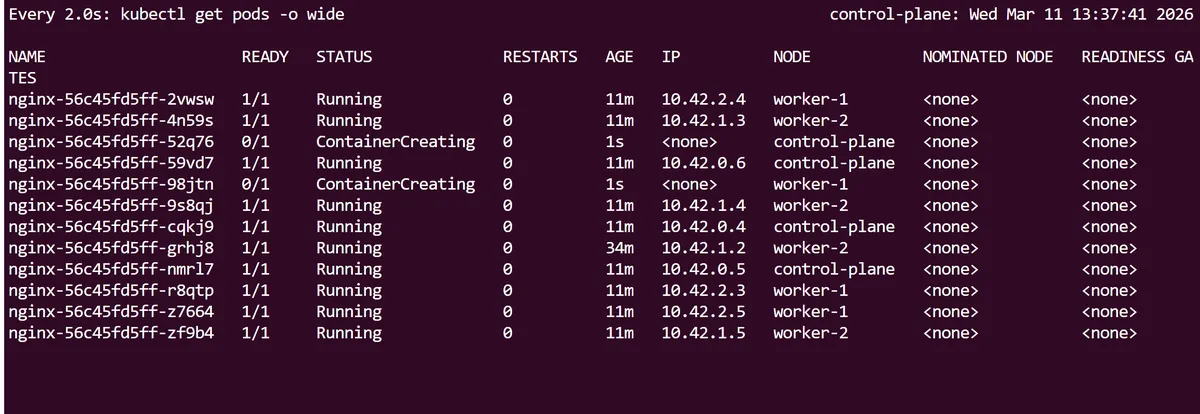
Immediately following this we can run a kubectl apply command on the yaml, and like before use the Linux watch utility to see the changes in real time until we have 12 pods running in total.
Curiously, this does not change the revision rollout history for the deployment. We can see that even though we have scaled up the nginx Deployment twice, the initial revision 1 is still present. This is because (as we will see later) Kubernetes only creates a new revision when the pod template and its attributes are changed.

If we want to get a detailed state in yaml of the Kubernetes Deployment, we can use kubectl get deployment/nginx -o yaml | more. Taking a closer look within the rollingUpdate strategy of our deployment spec, we can see that a default strategy has been assigned to allow a maxSurge and maxUnavailable of 25%.
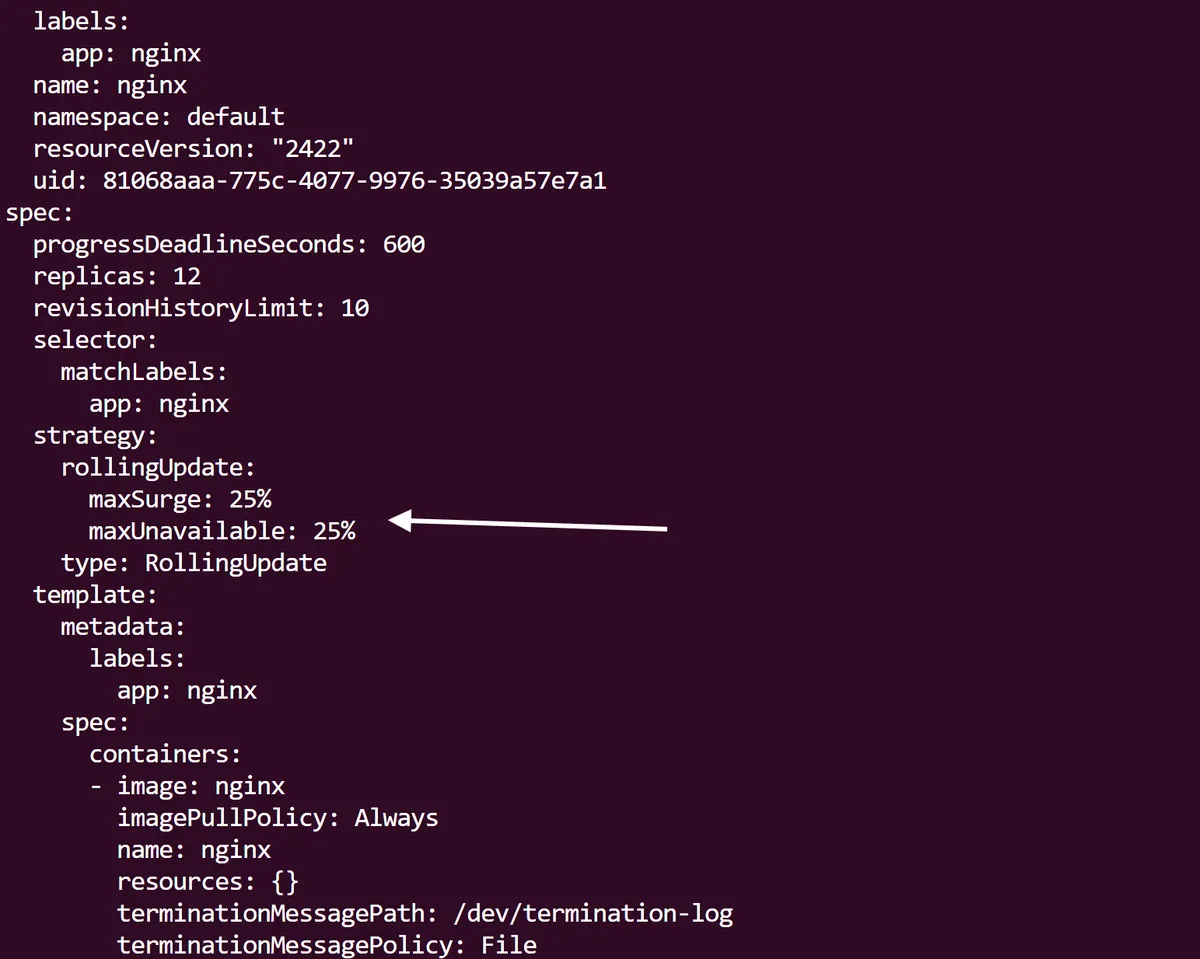
This allows Kubernetes to increase the number of Pods by 25% of the desired amount during an update which helps to maintain availability. In addition, the 25% maxUnavailable field means that only a quarter of Pods are allowed to be unavailable during an update process, which further ensures availability. As you can imagine, this could be fine tuned depending on how important the application is; a health, finance or manufacturing application will most likely have a lower maxUnavailable percentage than something less critical.
If we want to a different version of our Deployment rolled out in real time, first we can edit the nginx-deployment.yaml file and change the the spec.containers.image field so it now reads nginx:stable. Instead of doing a usual kubectl apply -f to apply this change, lets use the kubectl rollout status command alongside it, so we can actually monitor the changes to the deployment in real time:
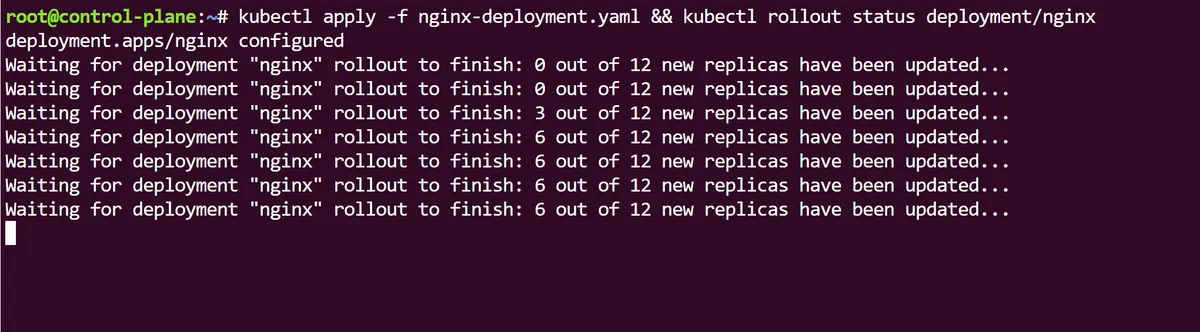
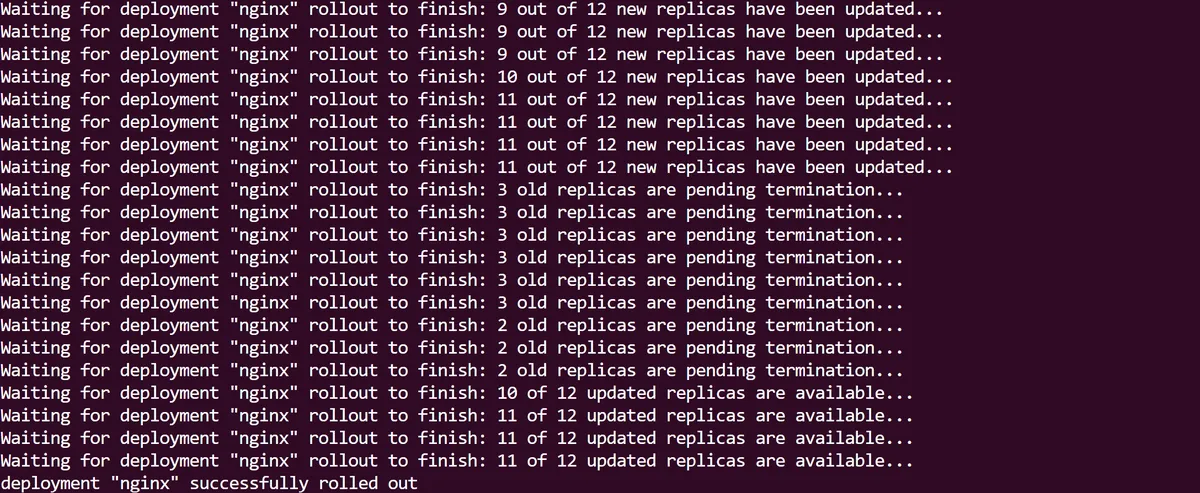
At first we can see the new Pod replicas being rolled out as part of the Deployment update, before the old ones are terminated. When this process is over the rollout is complete:
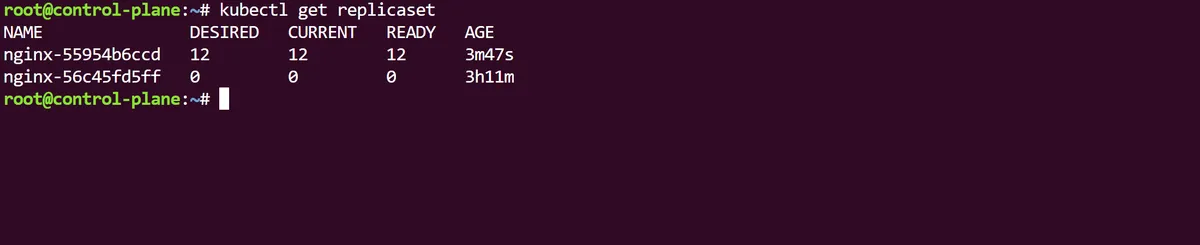
If we look at our Deployment we can see that the 12 replicas are now all using the new nginx:stable image we just applied, and this change results in a new replicaSet that the Pods are using:
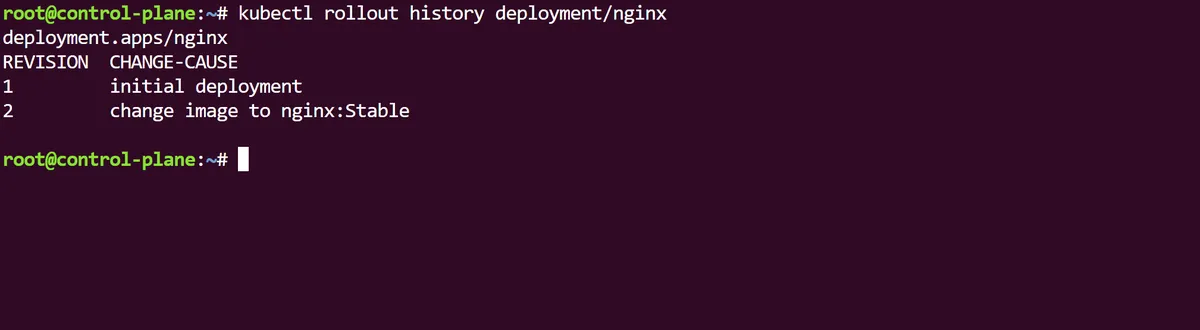
As best practice requires, we will descriptively annotate this change with the kubectl annotate and in the rollout history of our Deployment we can now see the revisions are up now up to date:
Kubernetes Deployments and ReplicaSets are fundamental objects for us to declaratively deploy our applications. Using them comes with the strong benefits of being able to scale and rollout changes in an application, as well as increased stability and the added security of rollbacks if something goes wrong with our deployments.
thanks for reading,
Mehmet