Linux by Fire - Installing Arch on a Mini PC: Part 1

It has almost become redundant to say that within the world of cloud/devops/platform engineering, Linux is a big deal. With this said, I am sure that there are many platform or devops engineers in the world who may use Linux daily in their roles, but if you were to ask them how well they actually understand the OS, they would reply "not well enough".
As one of these engineers, for the next few weeks I have set myself the goal of building an Arch Linux system entirely from scratch with the hope that I will fill in some of these pervasive gaps that have never seemed to go away. While the urge to buy yet another O'Reilly Linux book from Amazon is tempting, I believe that it's time to make a change from the theory and get my hands dirty.
Arch Linux is not a bed of roses... but that's the point

If you have had even only a brief glance at the (sometimes) ferocious debates within the Linux community about the best distribution to install, you will know that the sentence "Arch Linux is not for beginners" is so often used that it has almost become its unofficial tagline. The distribution is perceived as being a particularly tricky OS to install, not because it is rocket science but because it requires some persistence to achieve a running system with it. In fact, some enthusiasts will practically implore you not to install Arch Linux.
Unlike other distros, Arch has no installer; you have to boot into a terminal, partition your drive, mount and copy over binaries using commands in a specific order just to get started. And after these finicky steps you will be met with nothing more than a blinking cursor devoid of anything that represents an actual working operating system. However, for the engineer who is truly willing to put their ego to the side and accept the learning curve and guaranteed frustrating issues that will emerge, the rewards are obvious.
Although there are warnings about the difficulties that come with installing the distribution, it is pretty much consensus that those who do persist with their Arch project will undoubtedly unlock a deeper understanding into exactly how Linux works. And once gained this understanding is never lost.
Which machine am I using?
Like many other people, I am prone to decision paralysis when buying new tech. Fortunately, when formulating this project in my mind, I knew that I wanted to install it on a small and fast machine that would not be so exorbitantly expensive (shout out to all the LLM companies choking global compute supplies right now) that I would regret anything catastrophic happening to it.
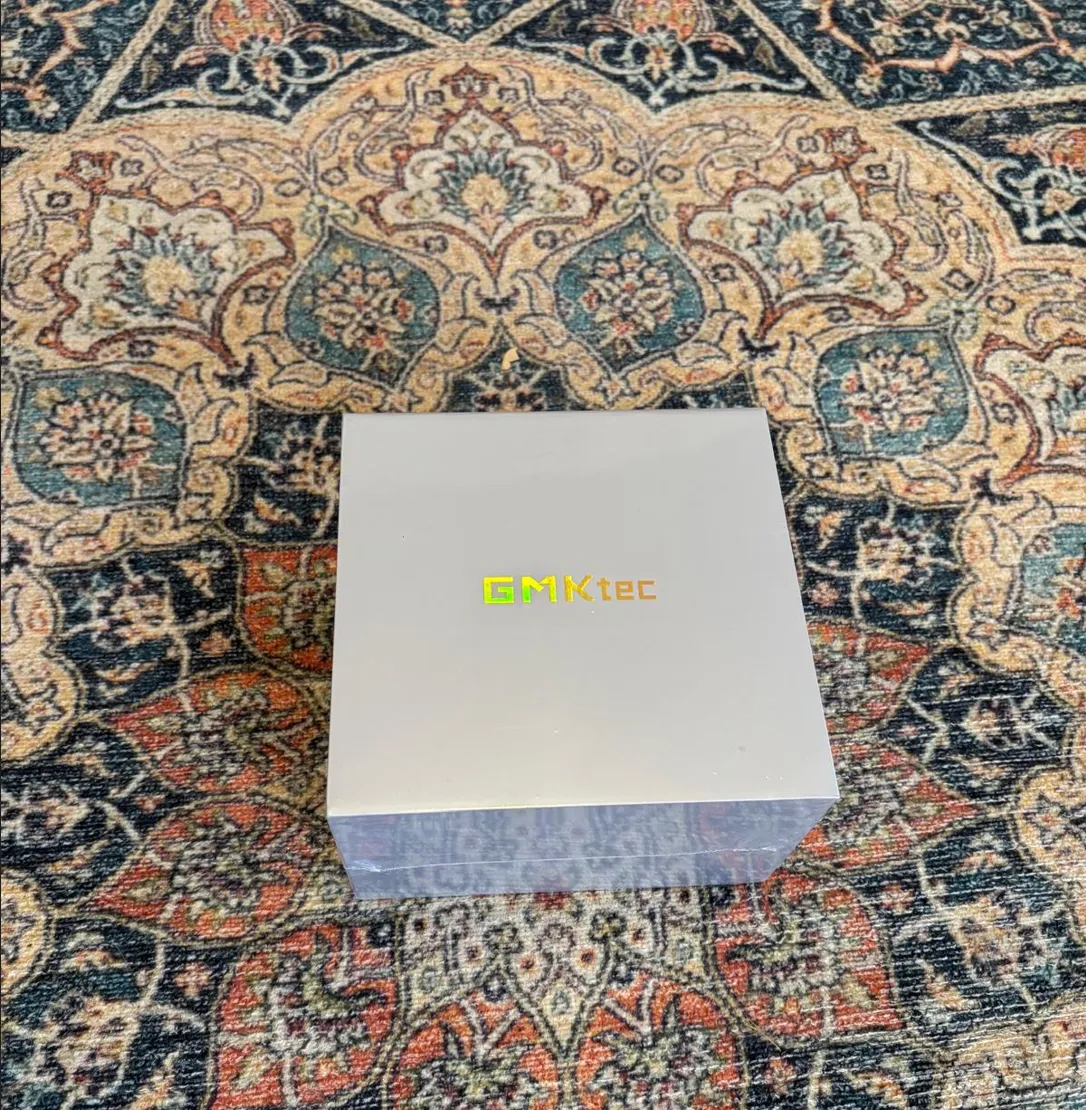
With the recommendation from a colleague who had also bought one for his home server, I decided to go with the GMKtec Nucbox G10 Mini PC. After a 2020 crowdfunding campaign in Shenzhen China, GMKtec was formed specifically with explicit goal of offering compact computing hardware.
Beyond the petite size of the machine I was also happy with the specs offered. For a little over £220 the Nucbox offers 16GB of dual-channel RAM - which will be useful given that Arch can be quite memory intensive when compiling packages from the AUR - a PCIe 3.0 x4 SSD (3500 MB/s) offering sub-10-second boot times, and an AMD Ryzen 5 integrated GPU with excellent Linux compatibility.
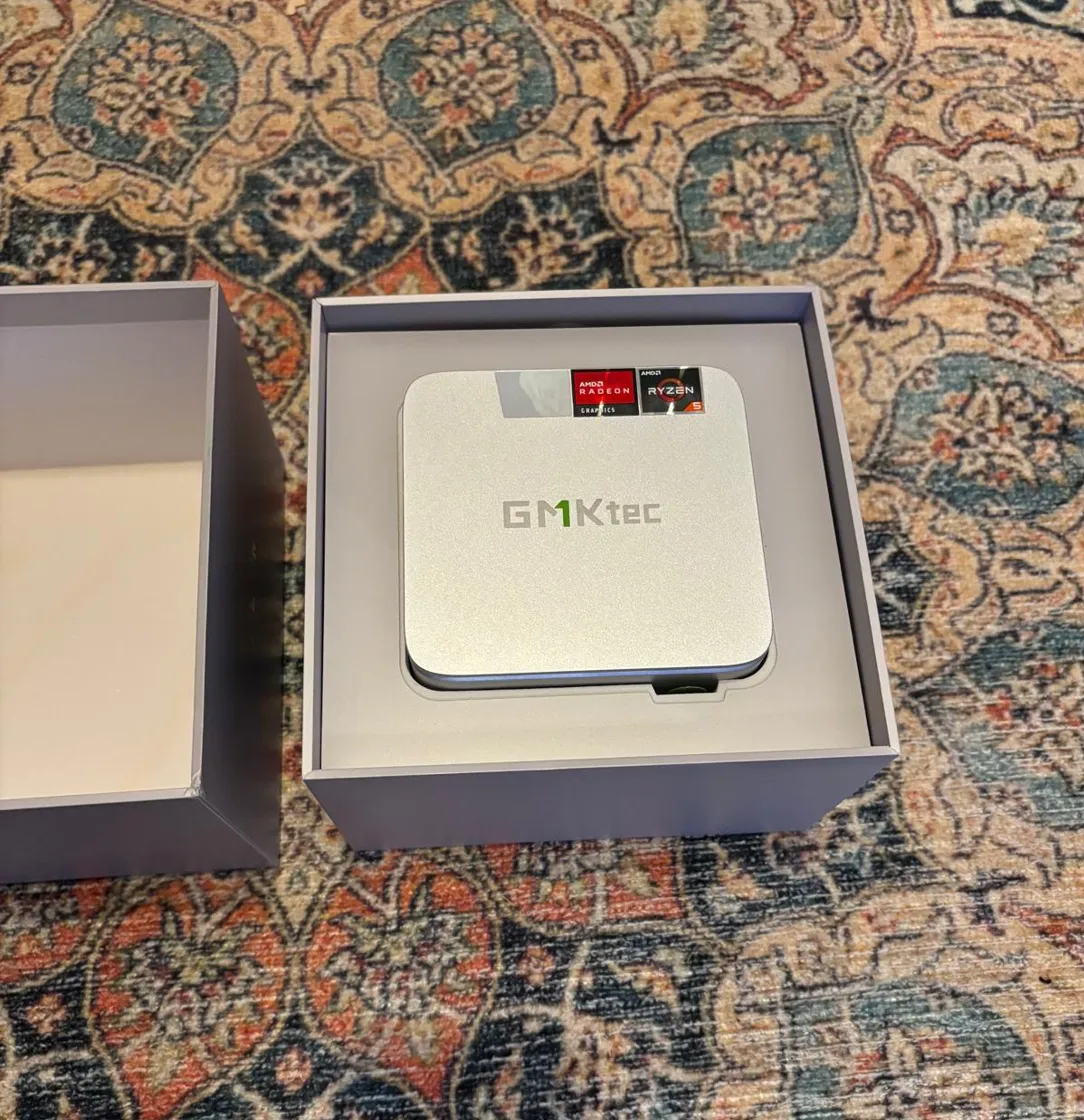 It's so cute, I want to buy 100 of them, daisy chain them into a giant Talos Linux Kubernetes cluster, and attempt to run a more adorable version of Skynet
Verifying the Arch ISO and Creating the USB Flash Installer
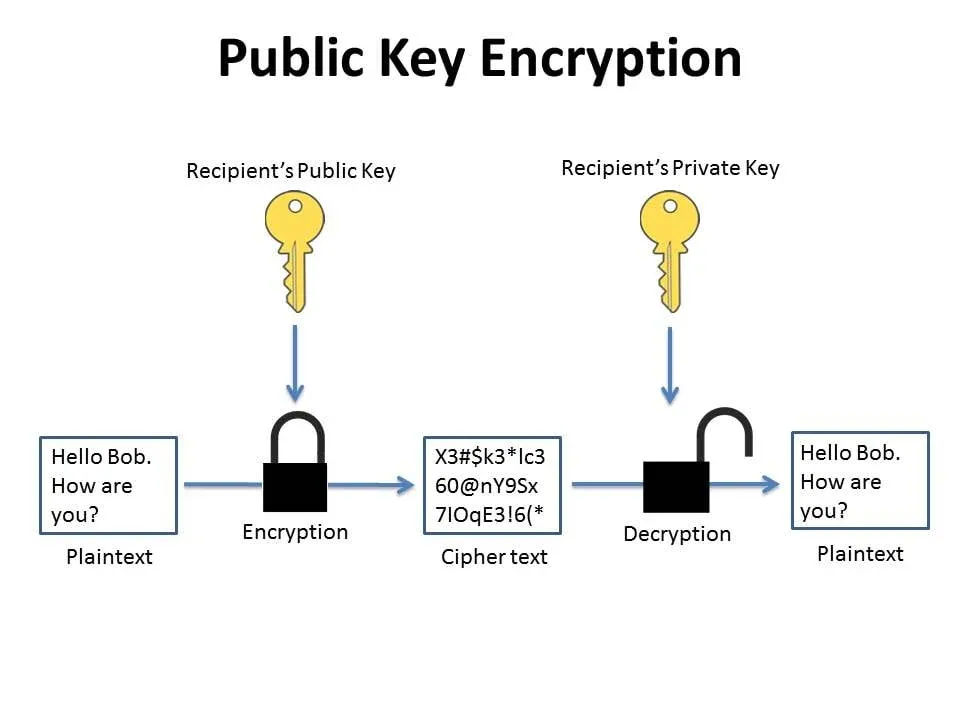
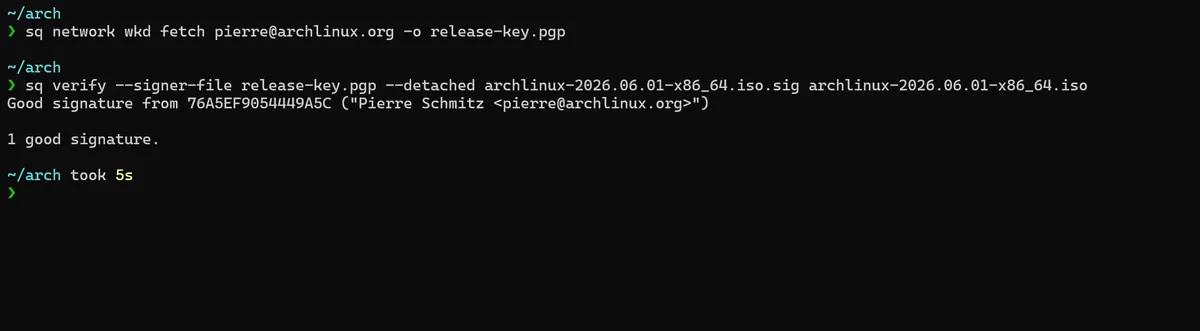
As per the official (and very well-written) Arch Linux installation guide it is strongly recommended that if you are downloading the Arch ISO from a mirror site, you should first run a series of commands in tandem with the Arch ISO PGP signature to verify what you're downloading is not malicious. Given that I'm downloading the ISO from a mirror site I decided to go through these steps.
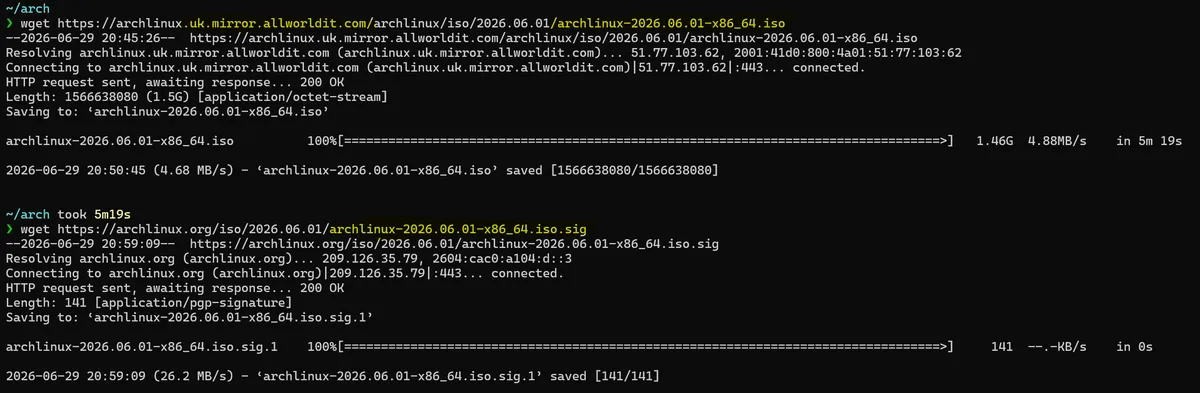
The ISO PGP (Pretty Good Privacy) signature from Pierre Schmitz, the Arch Linux release manager, allows us to to take his .sig file and use the
sq verify command which allows which extracts the cryptographic hash, confirms the signature's mathematical validity, and returns a "Good signature" result."
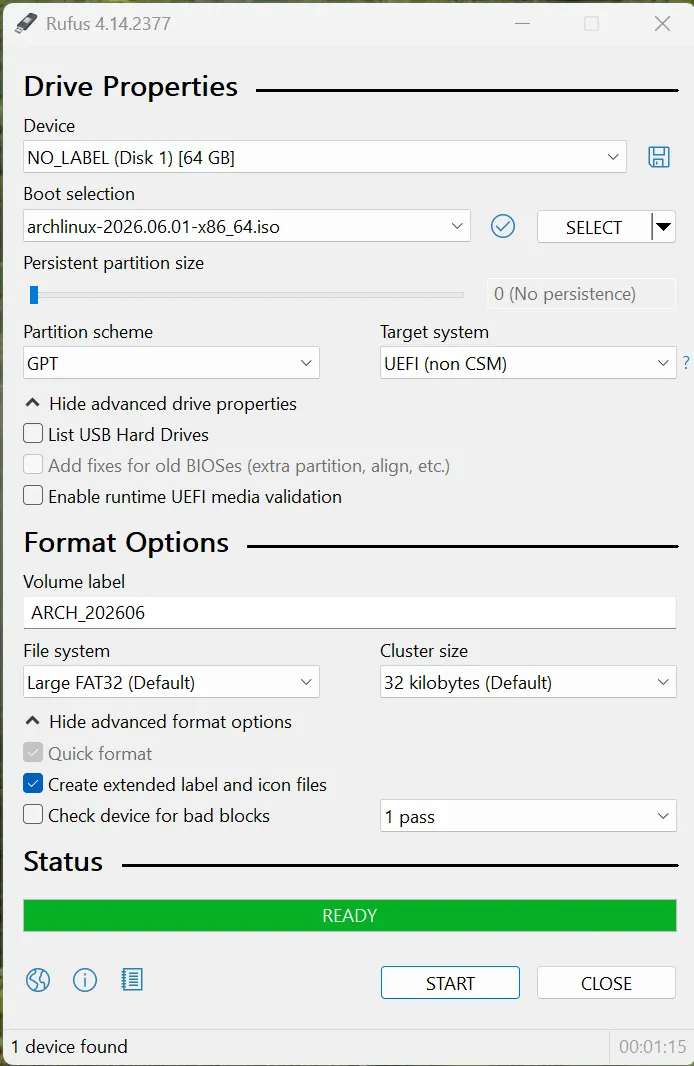
With that verified and confirmed as good, I can now use Window's Rufus utility app to create a bootable Arch USB drive. It's recommended to use the GUID Partition Table GPT partition scheme over the older MBR method, especially if our drive is larger than 2 TiB. the GMK NucBox has only a quarter of that total disk space but I will still choose GPT for good measure.
I will also select DD disk image mode for the flash process, as this byte-for-byte method writes the ISO directly to the drive without extracting its contents like a zip file.
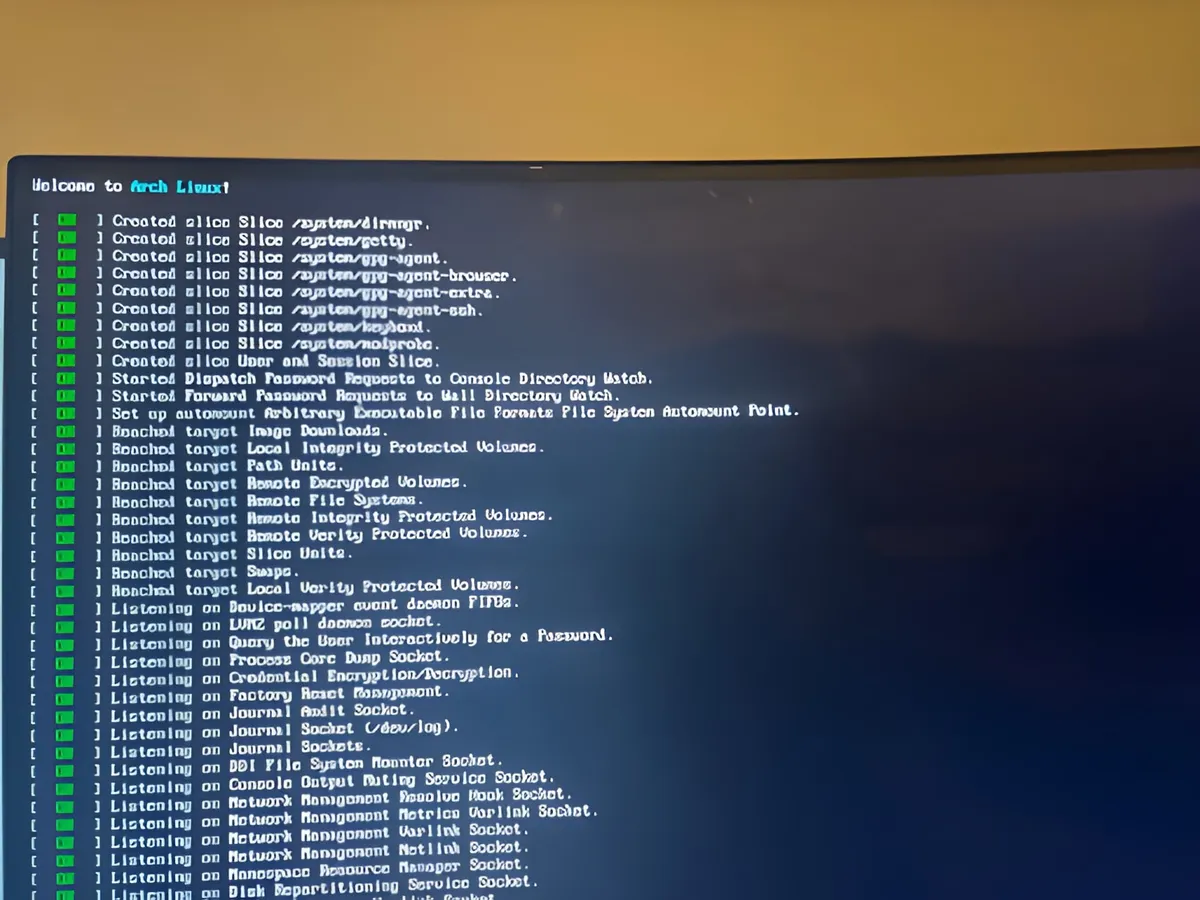
After changing the boot order in the GMKtec BIOS settings so that it chooses our flashed USB first and then selecting the installation of Arch from a simple menu, I can see that this is now installing as expected.
After the installation has completed, I navigate to the arch ~/.ssh directory to set a root-level password for ingress SSH connections. We will change this to use SSH keys for access in then near future, but as Arch comes in a blank state this will be one of many added functions that I will need to configure. After finding the IP address for the machine I run the SSH command in my WSL terminal on my laptop to connect to Arch.
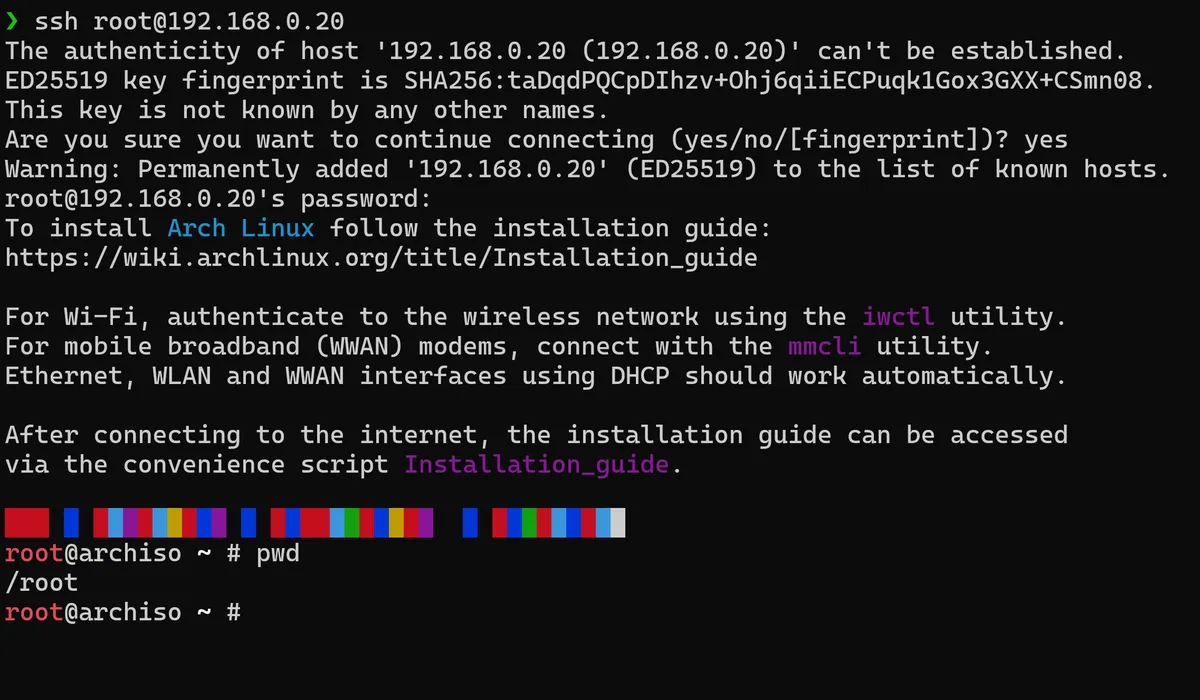
And there we have it, Arch Linux in its extremely early and basic iteration reachable by SSH. I can now unplug the monitor and keyboard from my mini PC and use it a as persistent, headless server for me to access from my normal workstation.
In the next part of the series I will be focusing on actually partitioning the Arch machine and configuring it so that we will not have to rely on the USB boot to access in the future.
Thanks for reading,
Mehmet