Linux by Fire Part 4: Configuring /etc/fstab

The fstab file contains information about filesystems that the system can mount. In the case of my Arch Linux build, I will be using it to define exactly how the disk partitions and LVM volume schema that we set up in the previous part of the series should be mounted.
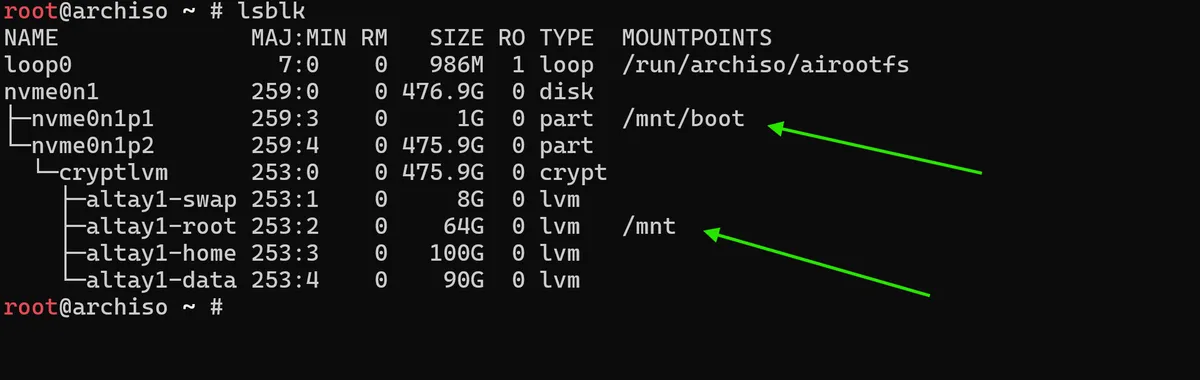
To begin, let's examine our current device mount schema by running lsblk. Looking at the output, I can see that our 1G EFI, boot partition nvme0n1p1 is correctly mounted to /mnt/boot, and our root LVM volume altay1-root is properly mounted at /mnt. This is exactly what we want, root first and then boot which will ensure that the fstab file will properly detect all of our partitions when we generate the filesystem table later on.
According to the Arch Linux Wiki installation guide, we need to also explicitly enable our swap before generating fstab. We can do this by using the swapon utility which activates a specific device for future swap operations. In my case, I do this by running:
swapon /dev/altay1/swap - which will allow virtual memory to be served should my system's RAM get too full and allow the kernel to move less-used data to swap, so it's important that I get this configured correctly.
Now we can install the base system on our mounted root filesystem. We do this by using the pacstrap command, which is a wrapper around the pacman utility that installs packages into a specified root directory, in our case this is /mnt. To install the base package and the Linux kernel we'll run:
pacstrap -K /mnt base linux linux-firmware - the -K flag is significant, as it initialises an empty pacman keyring in the new system, which is necessary for package verification and security:
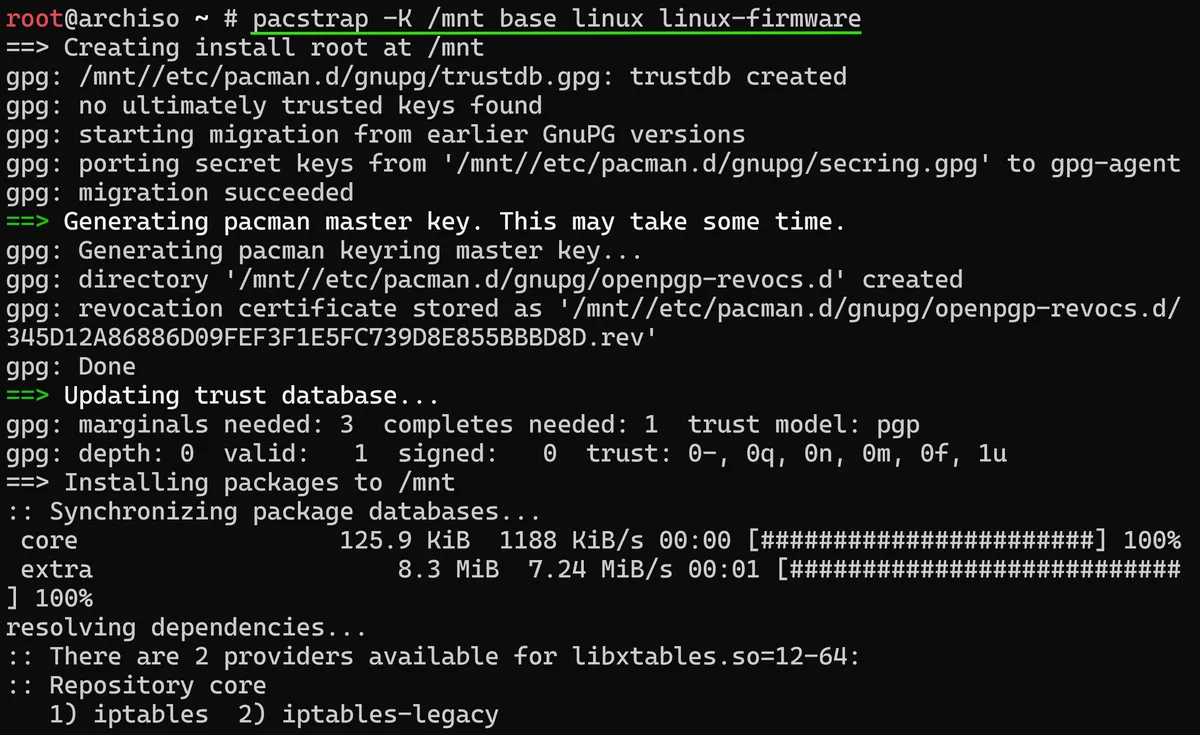
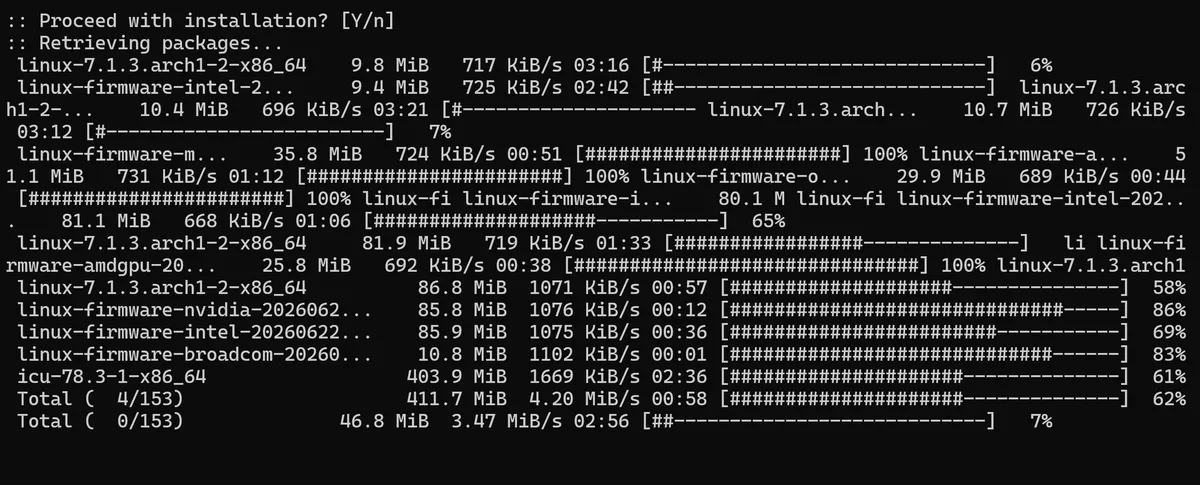
This can take some time to complete, given that this is the actual installation of Arch Linux and pacman downloads and extracts all of the core firmware packages that will form the base of the OS installation.
It's also worth noting that the Arch Linux wiki specifies that after completing this base package installation, installing further packages may be necessary for a fully functional base system i.e. networking, security etc.
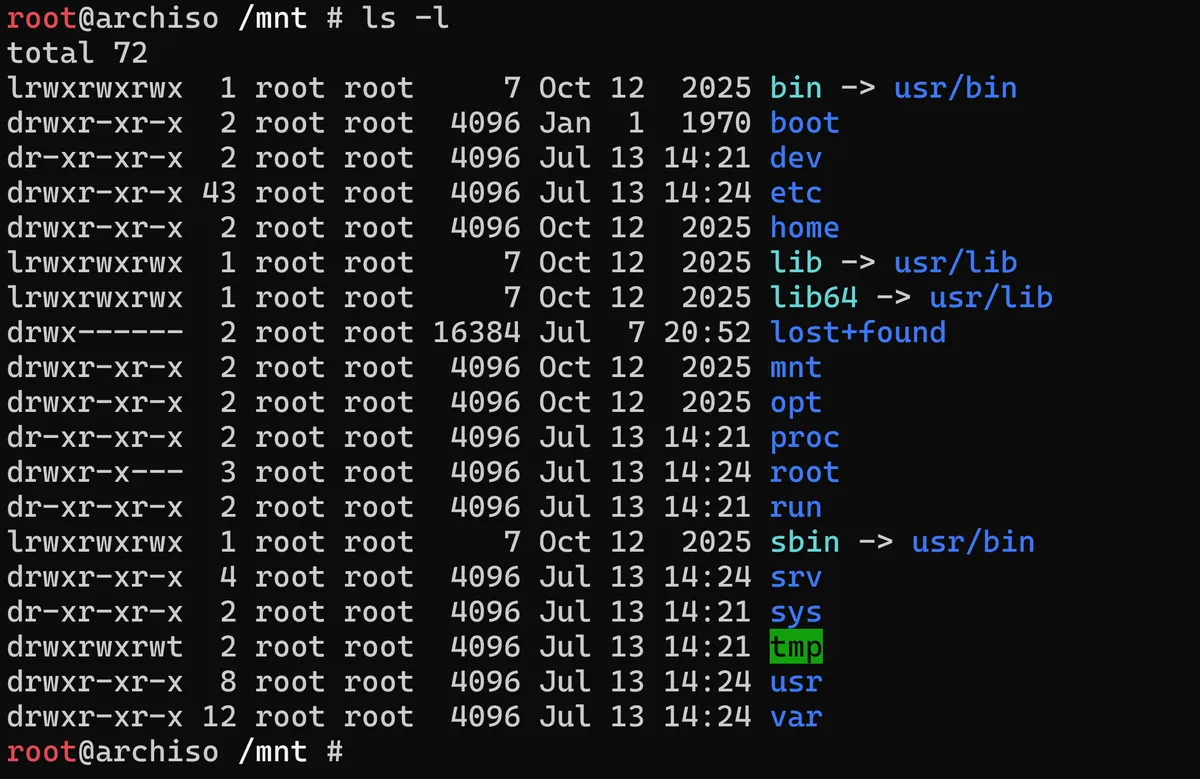
Once that is complete, if I navigate to the /mnt directory, for the first time I am able to see something resembling an actual Linux file system on our LVM. We are now finally in a position where we can actually generate the fstab file system configuration on our system which, if you remember from earlier, will have the primary purpose of dictating exactly what will be mounted and where it will be placed in my system's directory tree:
genfstab -U /mnt >> /mnt/etc/fstab - this will append all the currently mounted filesystems under my /mnt to a newly generated /etc/fstab file. After running this, by using cat to read our newly created /mnt/etc/fstab I can confirm thatfstab has scanned and added our altay1-root, taken the UUID of that partition and will mount it to to / as a filesystem.

It has done the same for our 1G EFI boot partition and the altay1-swap LVM partition we configured earlier.
What is Chroot?

We are now ready to enter our new system by running the arch-chroot /mnt command. The arch-chroot command changes the root directory to /mnt, which essentially means that I am switching from the live USB environment into our newly installed Arch Linux system.
Up until this point, throughout this series, everything I've done - partitioning, formatting, mounting etc - has been running from the USB boot OS, which is why I've been scared of accidentally removing the USB as none of the work I've done over this series would have persisted.
To make it easier to understand, a few steps earlier I had to specify the /mnt prefix to navigate to the /etc/fstab file to verify our partitions had been successfully scanned and added to the table. But now, after using arch-chroot /mnt, the root directory / is no longer the live USB's filesystem—it's now our new Arch installation.
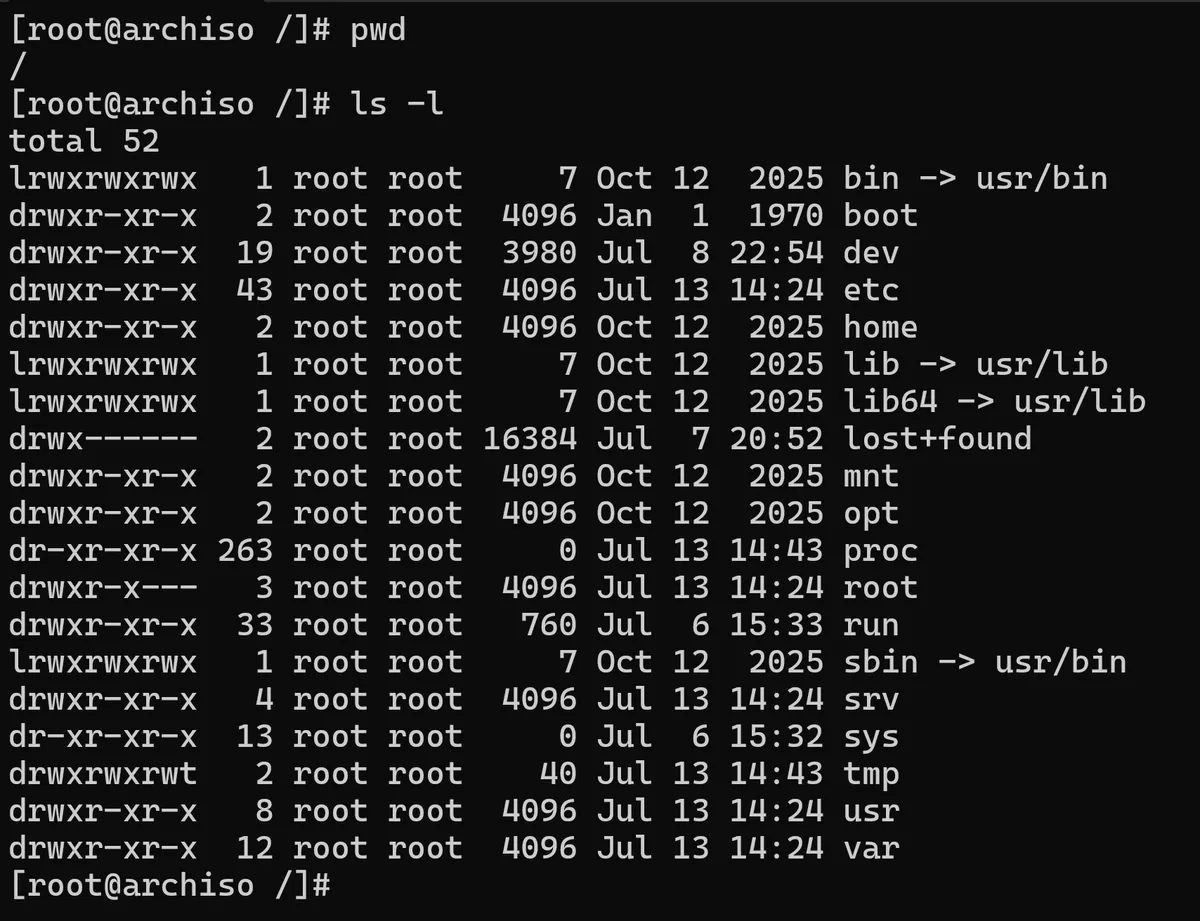
This means I can simply reference paths like /etc/fstab without the /mnt prefix, because /mnt has effectively become /. Running pwd confirms I'm in the root directory, and ls -l shows all the familiar root directory files and folders—/etc, /bin, /home, and so on—all belonging to our newly installed system rather than the live environment:

Now, for instance, it is possible for me to make a system change like changing the time zone. As I am based in London I will set the local time to match that. Note that I'm using the ln command to make a symbolic link between the local time file and the compiled time zone data for London:
ln -sf /usr/share/zoneinfo/Europe/London /etc/localtime
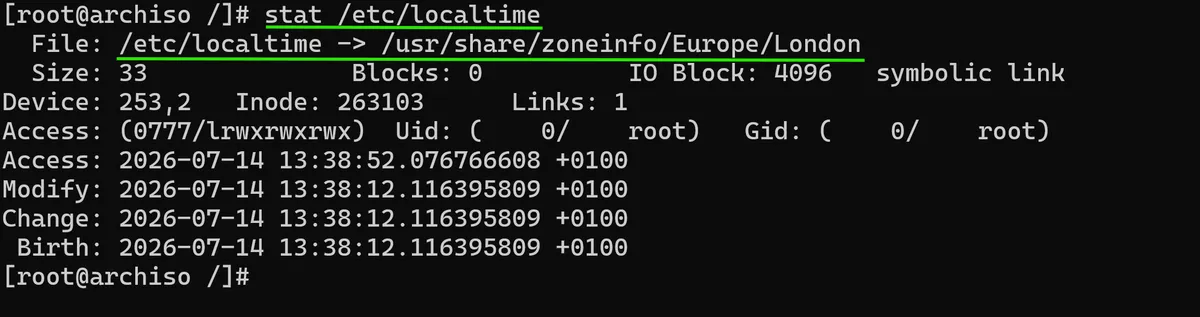
I can run a stat /etc/localtime command after this to confirm it has worked.
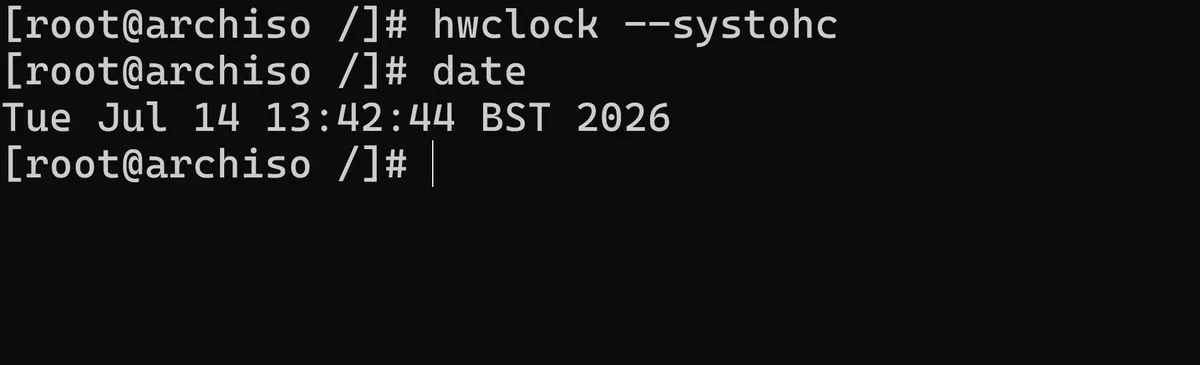
After this I also run the hwclock or hardware clock command to sync my Arch systems local time using to the NTP protocol. Following this up with a date command confirms that my Arch system is synced to the correct time:
Something else I can now configure within chroot is locales, which are a set of environment variables used by glibc C standard library, the backbone of text rendering and display on almost all Linux systems, for character encoding, regional monetary values and other specific standards. If I wanted, I could set these standards to be more UK orientated, as that's where I am, but for ease I'll default to the US locale standards:
locale-gen
I've noticed that I haven't actually got a text editor installed on the system yet and I will need one if I am going to create a specific locale.conf file for our system to use.
The most used text editor on virtually every single Linux system in the world is vim so I will install this using Archs pacman package manager. Note the Syu flag I use to sync for pacman to use remote package repos, refresh (y) or download a fresh copy of the latest package list from the pacman servers and upgrade all of the out of date packages on our system.
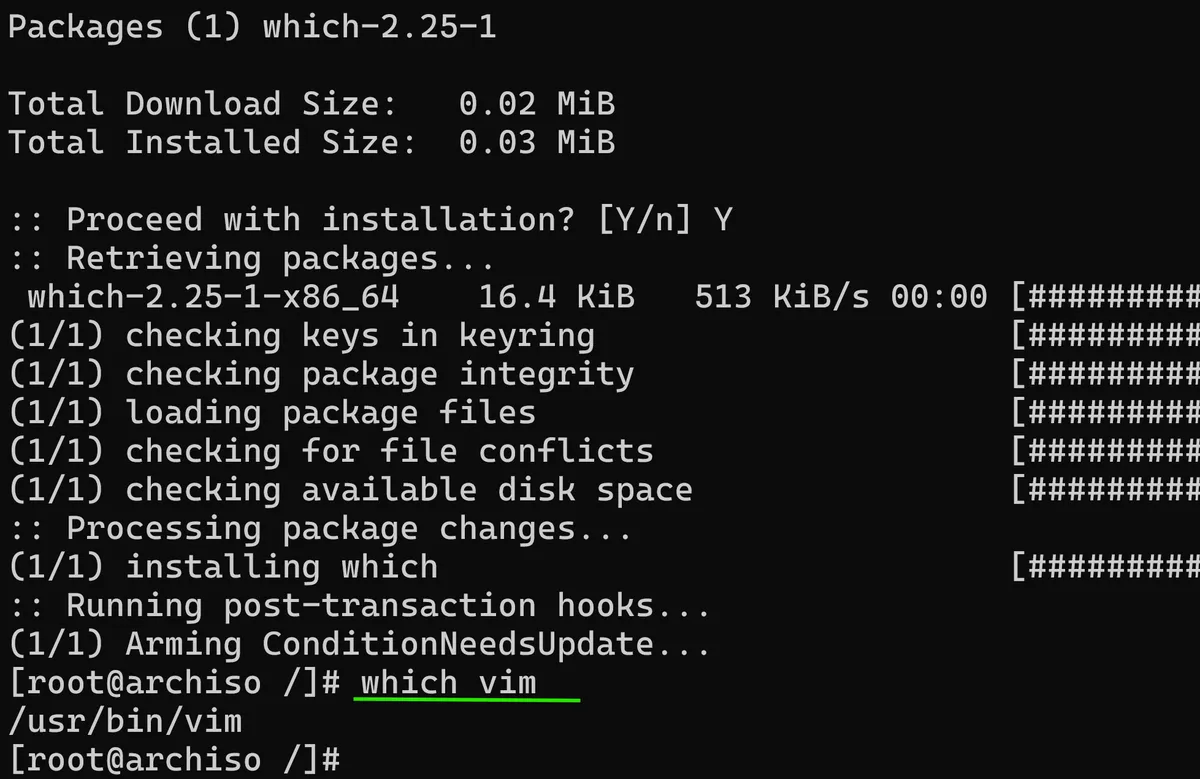
pacman -Syu vim - note that to even check if this installation has worked and use the which command, I've had to install this via pacman as well. That is how minimal our Arch system is at the moment.
I've also realised that I don't even have the man pages installed for Linux documentation so I will install these as well using pacman -Syu man-db man-pages textinfo:
With the locales configured and essential tools like vim and man pages installed, we've reached a significant milestone in this Arch Linux series. I now have a functional, bootable system that I can enter without relying on the USB live environment.
It's minimal and doesn't even have sudo or any networking capabilities installed yet, but that's the point. I mentioned in the first post that Arch is not a bed of roses, but I can quite proudly say that this barebones foundation is the result of every decision I've made so far. From partitioning the disks, setting up LVM, to generating the fstab file. And there is something quite rewarding about that.

In the following posts of this series I will continue installing fundamental networking and authentication software, amongst other services that will help build it up from a minimal installation into a fully fledged daily driver.
As always thanks for reading,
Mehmet